My Own AA Battery Enclosure
If you are looking for the links to the files and resources I used, they are located at the bottom of this article.The inspiration for this project was that I got sick of needing to carry around my only breadboard power supply and USB cable when going between my basement workshop and bedroom. I thought there had to be a better way. While I was trying to think of a solution, I noticed that lots of things I use on a daily basis are portable and can be used without a cord. The solution to my problem?... Batteries!
Planning
I started by thinking of a list of what I needed this new power supply to accomplish. It has to be powerful enough to power my basic circuits but also more complex ones that involve microcontrollers like ESP32 dev boards. I came to the conclusion that 2 AA batteries would be able to accomplish this while still maintaining a portable form factor. As for my ESP32, I decided to use a step-up converter to supply 5V from the dual battery setup to ensure it can handle power draw spikes (e.g., when the ESP board uses Wi-Fi or Bluetooth, which can cause less predictable power draw).
Why Not Use Something That Already Exists?
When I start a new project, I usually go to Amazon during the planning stages to look for parts.
The ideal situation is when I can get the parts I need in bulk. However, this was not the case for the AA battery enclosures.
I was only finding 3–5 packs that ranged between $8–$15.
This was a little surprising since an enclosure for batteries is pretty basic.
All they were made of was plastic, metal contacts for each end of the battery, and some jumper wires.
These are all parts I already have (and in decent quantity).
This got me thinking that it couldn't be too hard to 3D print the enclosure and then just order the metal contacts on Amazon (which I was able to buy in bulk for a good price).
The Design Stage
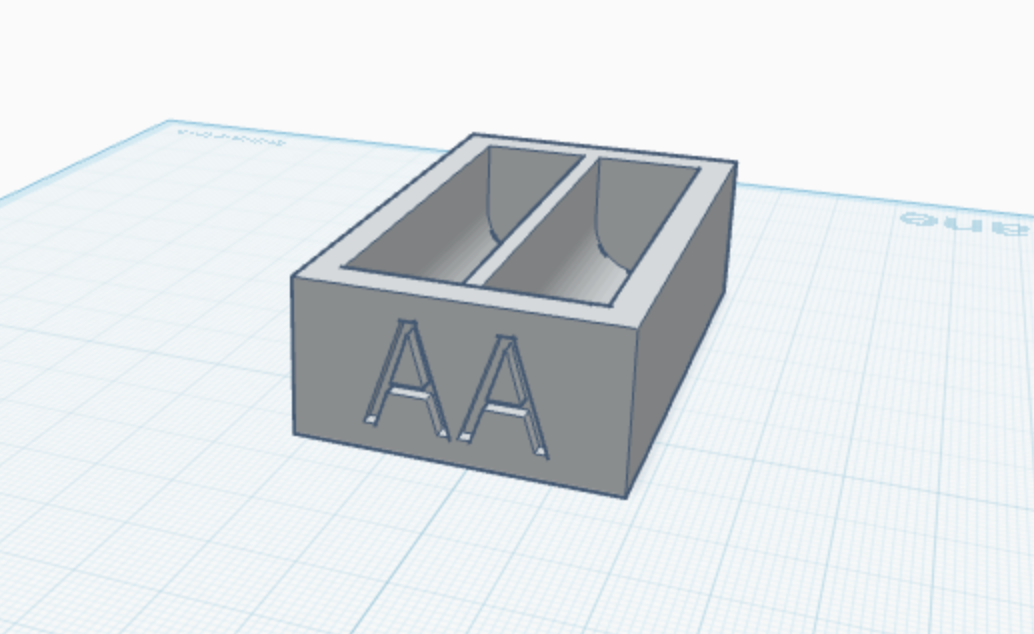
I ordered the battery contacts, and once they arrived, I got to work. First, I used digital calipers to measure the dimensions of an AA battery and created a cylinder in Tinkercad that matched those dimensions. I added a box from the center to the top that had a width equal to the diameter of the battery so there would be enough space to remove and insert the battery. I duplicated the cylinder and box combo and made the same hole next to it. Now that the batteries seemed to fit, I made the box a little bit longer so that there would be some breathing room and space for the contacts. Then I made some slits in the bottom of the box and on the wall that separated the 2 batteries so I could slide the contacts in.
Production
Once the design was done, I exported it from Tinkercad as an .STL file so that I could import it into Orca-Flashforge, which is the slicer that I use to create a .GCODE file for my 3D printer. I printed it using regular PLA. Unfortunately, it came out too small, and the battery contact slits on the bottom of the case were too thin for the contact's metal legs to fit through. So I re-measured the battery, went back into Tinkercad, and decided to make it a little longer since I had the proper radius. I also added an engraved "AA" on the front side of the case. After another 30 minutes, I discovered that the second print was now too long. This was an easier fix than it being too short, since I could use the back part of my calipers to find how much free space was between the end of the non-spring contact and the battery. I got rid of 90% of this space and ran the third print. I guess it's true what they say, "third time's the charm!" This time the case came out as expected, and everything fit in well.
Assembly
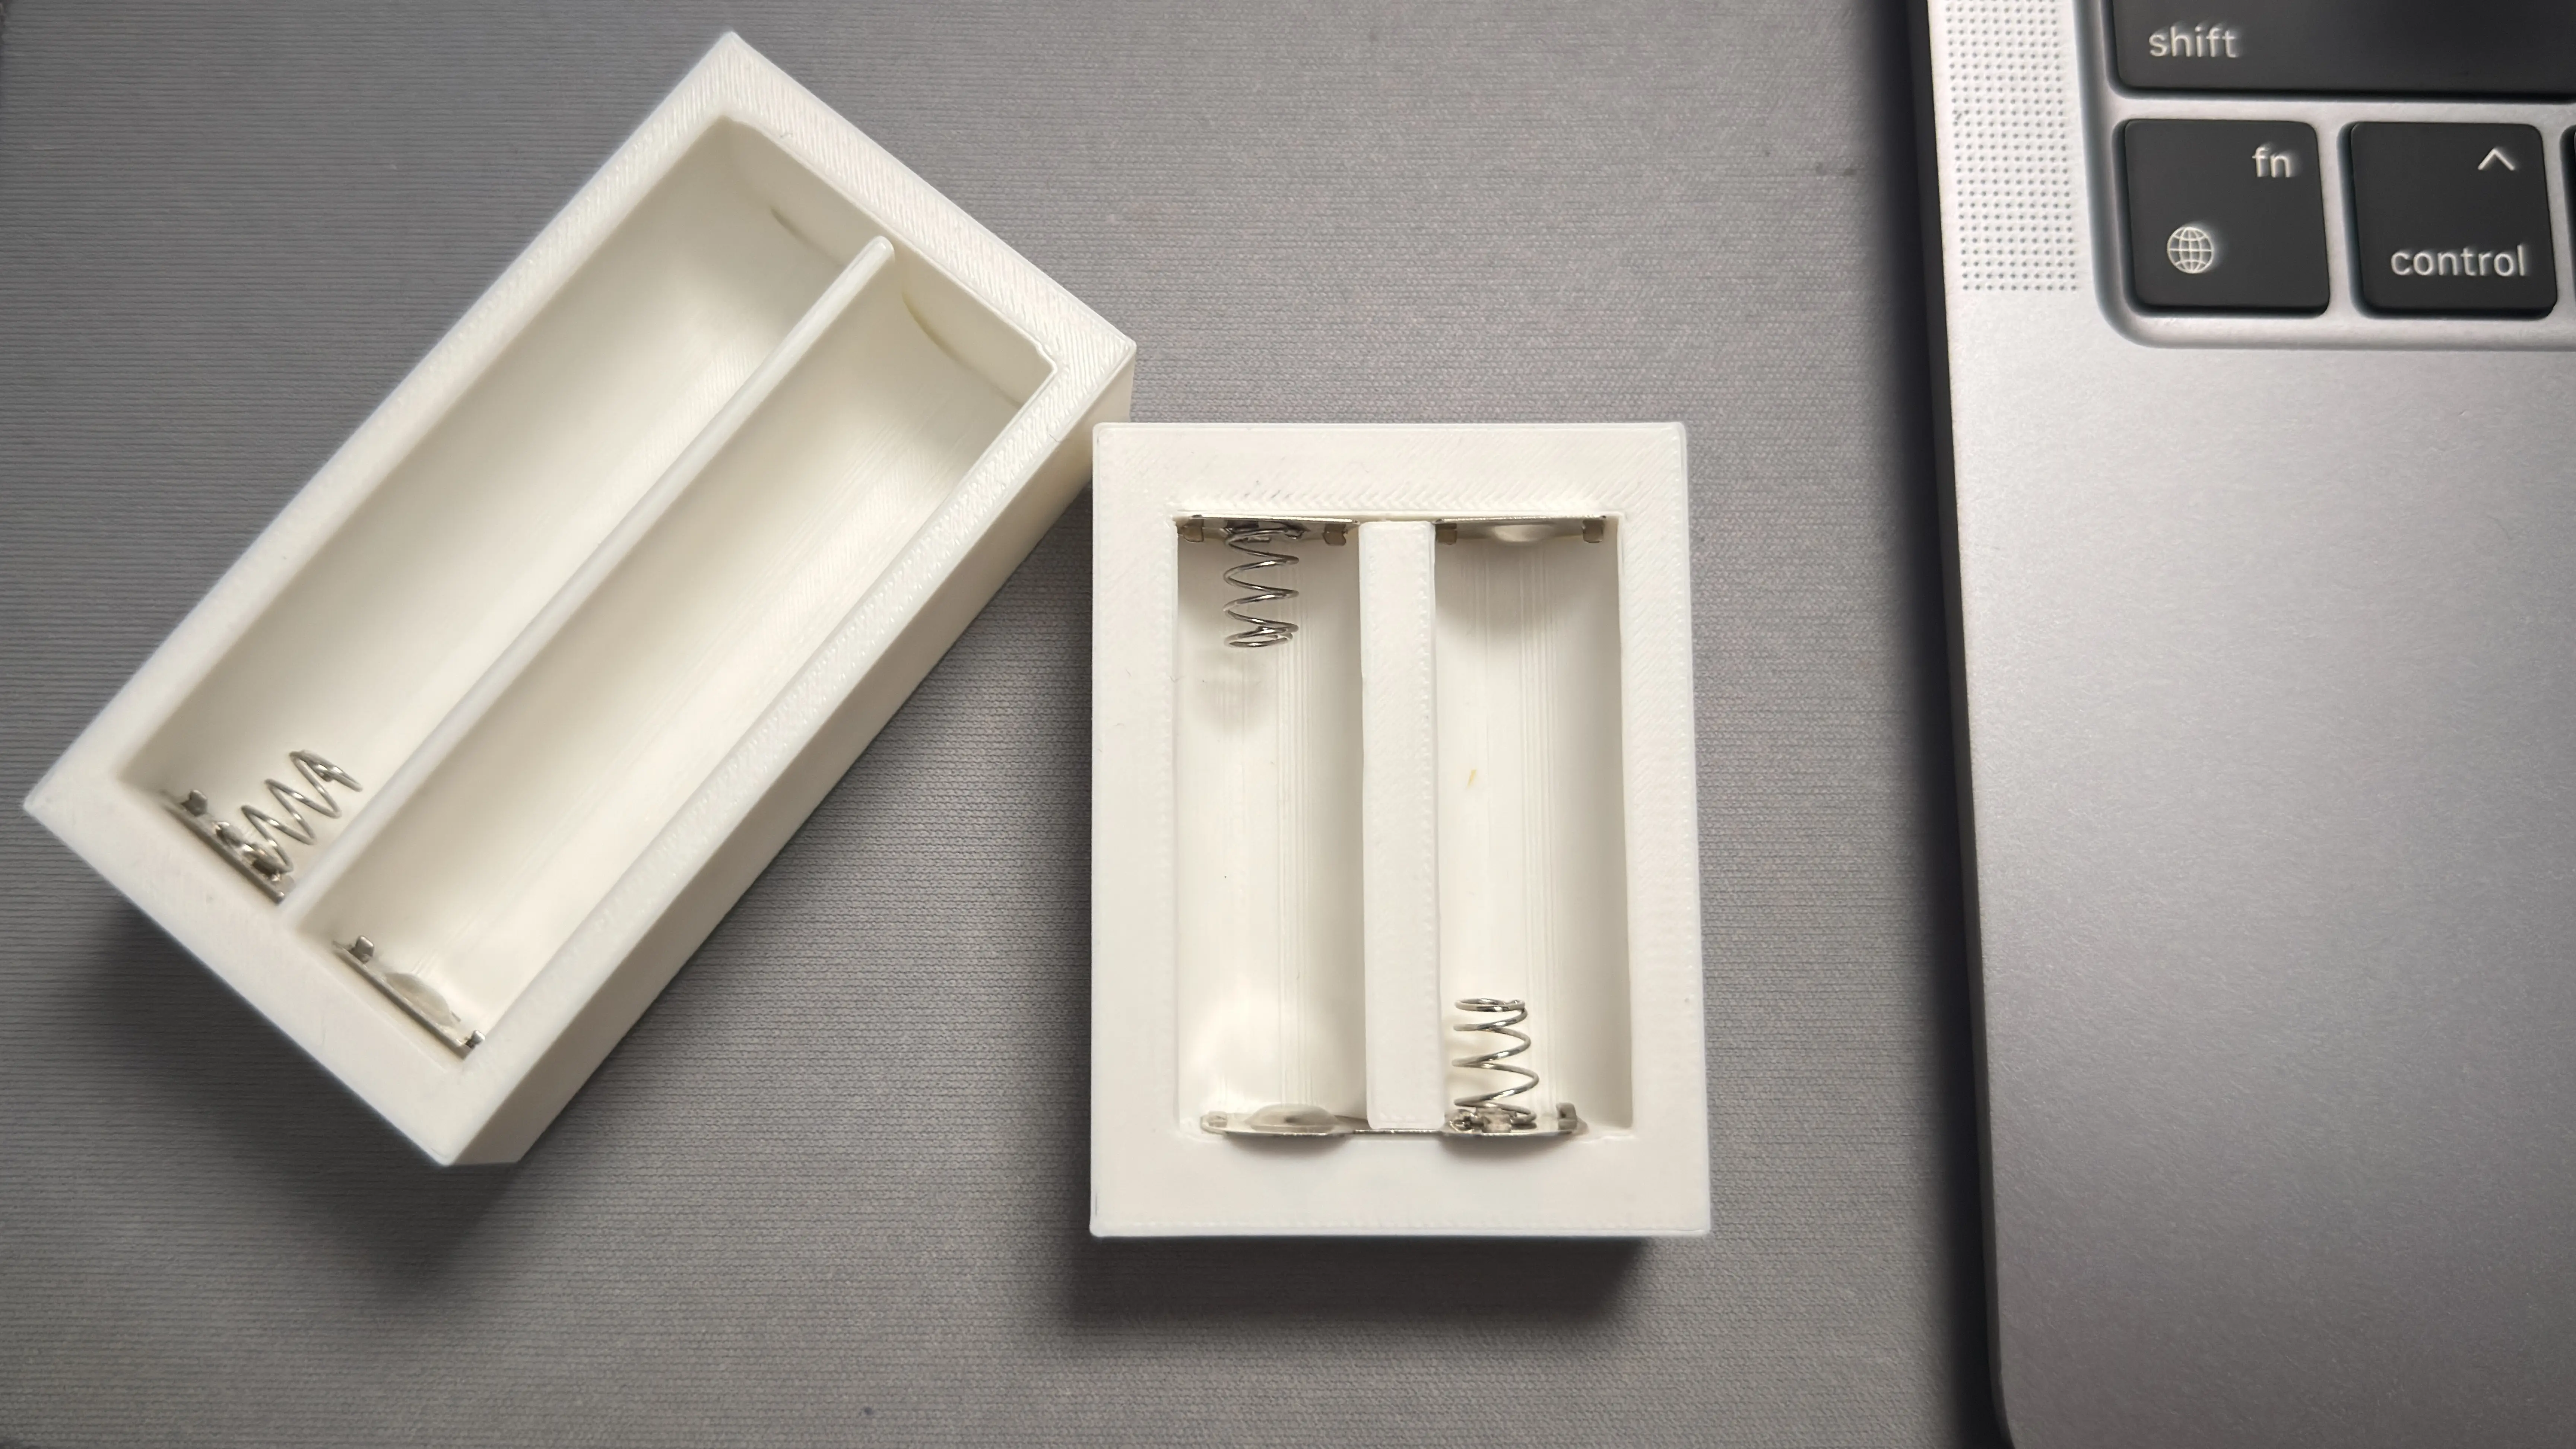
Now that I had the finished product, it was time to put it all together. I put the contacts into place and used super glue to hold them in.
I used a vise clamp to hold it in place for a few minutes, although if you don't put too much glue, you can probably just use your fingers.
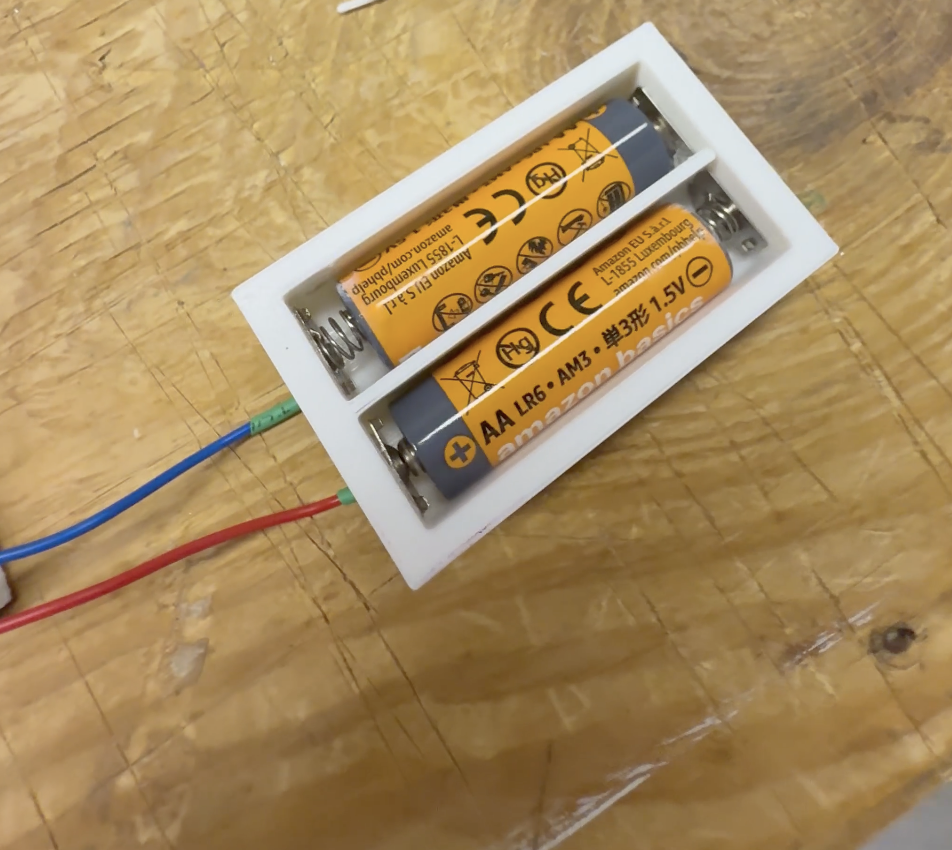
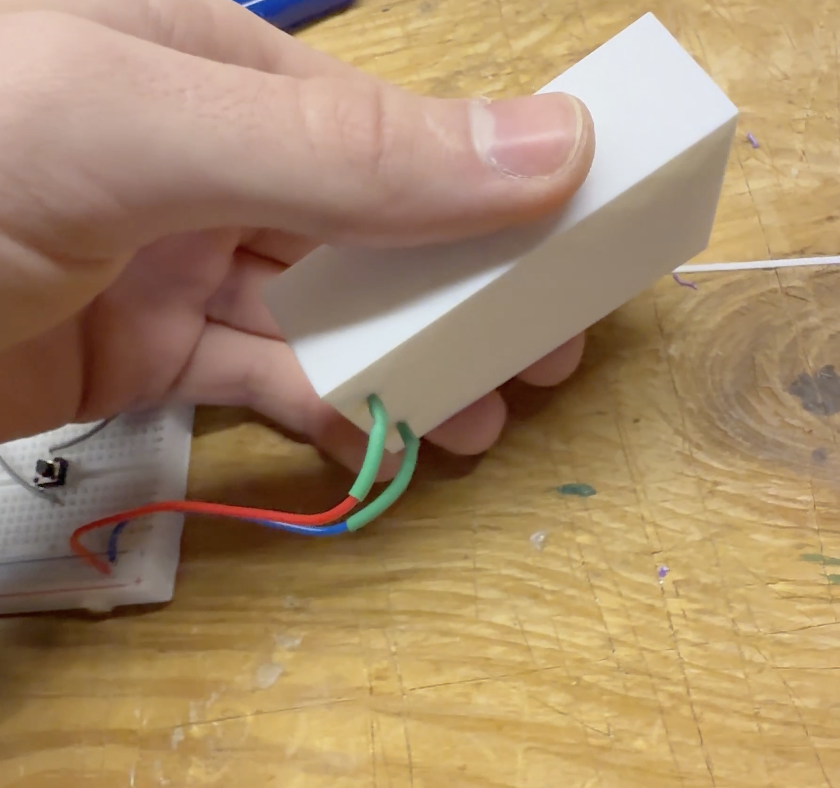
Once that was done, I soldered red and blue solid core wires to the part of each battery contact that came out of the bottom of the case. After the solder cooled, I put heat shrink around the part of the wire that is soldered to the contact.
If I were to redesign the case (which I plan to, since I will be using this in a bigger finished product), I would add a sliding cover to the top and a piece that would snap into place on the bottom with holes in the side for the wires to come out, so that it can sit flat on its base.
What This Project Taught Me
I enjoyed this project a lot since I got to use a bunch of tools in my mini basement lab. It was also pretty cool that I was able to build it for less than the cost of pre-made ones on Amazon, and my version is personalized. I learned that even if it doesn't come out perfect the first time (or the second, for that matter), there's nothing stopping me from trying again and again until it works.
Thank you for reading! Here is a shopping list if you want to make your own at home!This content (including the STL file which I have designed my self!) cannot be sold or shared anywhere without my explicit permission. Please contact me via email with any questions: getintouch@tylercaselli.com.
Shopping List / Resources
- I printed the case with a 0.4mm nozzle; it may work with other nozzles, but I have not tested it.
- Any standard PLA should work for printing.
- Does not need supports to print.
- Use any solid core wire.
- Use any heat shrink as long as it fits around the contact and wire and has some breathing room for the solder buildup from the joint.
- Soldering iron needed and lighter or heat gun for heat shrink.
- Any FDM 3D printer.